Introduction
As part of any multi-component/multi-page application, you will usually need to give your user the ability to navigate to different parts of the app. In order to do this, you need to integrate routing in order to tell the application what component (page) to direct to based on certain events. In this blog post, I will show you how to add and configure routing for your application.
Setup
When creating a new Angular application using the Angular CLI (ng new nameOfProject), you are asked whether you would like to have routing added to your project. Press y and Enter.

If you are using Angular 9+, then you should see a file in src/app/ called app-routing.module.ts This is the root routing module for your entire application.
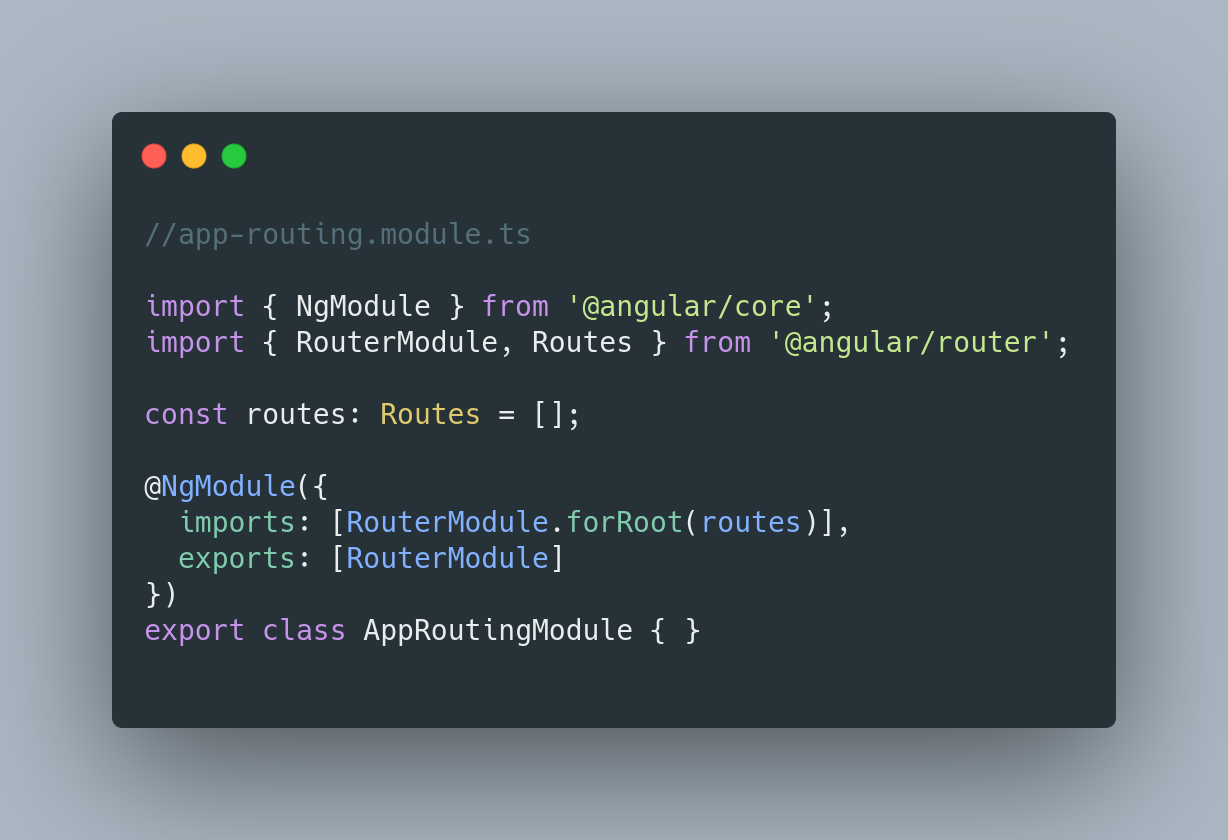
As you can see, near the top of the file there is a variable called routes. In the array, we can define our routes as follows:
const routes: Routes = [
    {path: 'register', component: RegisterComponent},
    {path: 'login', component: LoginComponent},
    {path: '', component: HomeComponent},
    {path: '**', component: 'NotFoundComponent'}
];
We define objects using two keys: path what is the path that the browser will try to go to and component - the name of the component (page) that gets loaded. For the first route, when the browser is directed to /register, Angular will load the register component. The second will load the login component when directed to /login. For the third route, you will notice that the path is left blank. Angular does not know what is meant if a slash ‘/’ is placed for the path. Leaving it blank is the equivalent of putting a slash. Now, whenever you just put the web address or the web address followed by a slash and nothing after it, Angular’s router will interpret that to load the home component. Finally, the last entry has a path of **. This is called a Wildcard Route. This means that if any invalid URL entered by the user, the browser loads a specific component. In this case the NotFoundComponent. You can call this component whatever you like. I called it that because I want a 404 page to appear.
It should be noted that route order is important. The router in Angular uses what is labelled as “a first-match wins strategy”[1] when attempting to do route matching. The order should be routes that are more specific are placed before routes that are less specific. Wildcard routes are placed at the end due to that route matching every other route and is selected by the router if there are no other matches.
In our view, we then add the links as follows in our home component:

The routerLinkActive that you see there gives you the ability to add CSS classes to the anchor element when that link is active (i.e. The current page that you are on).
That’s it! This is how you can route your web application in Angular.